3 mm bleed:
what happens at the trim.
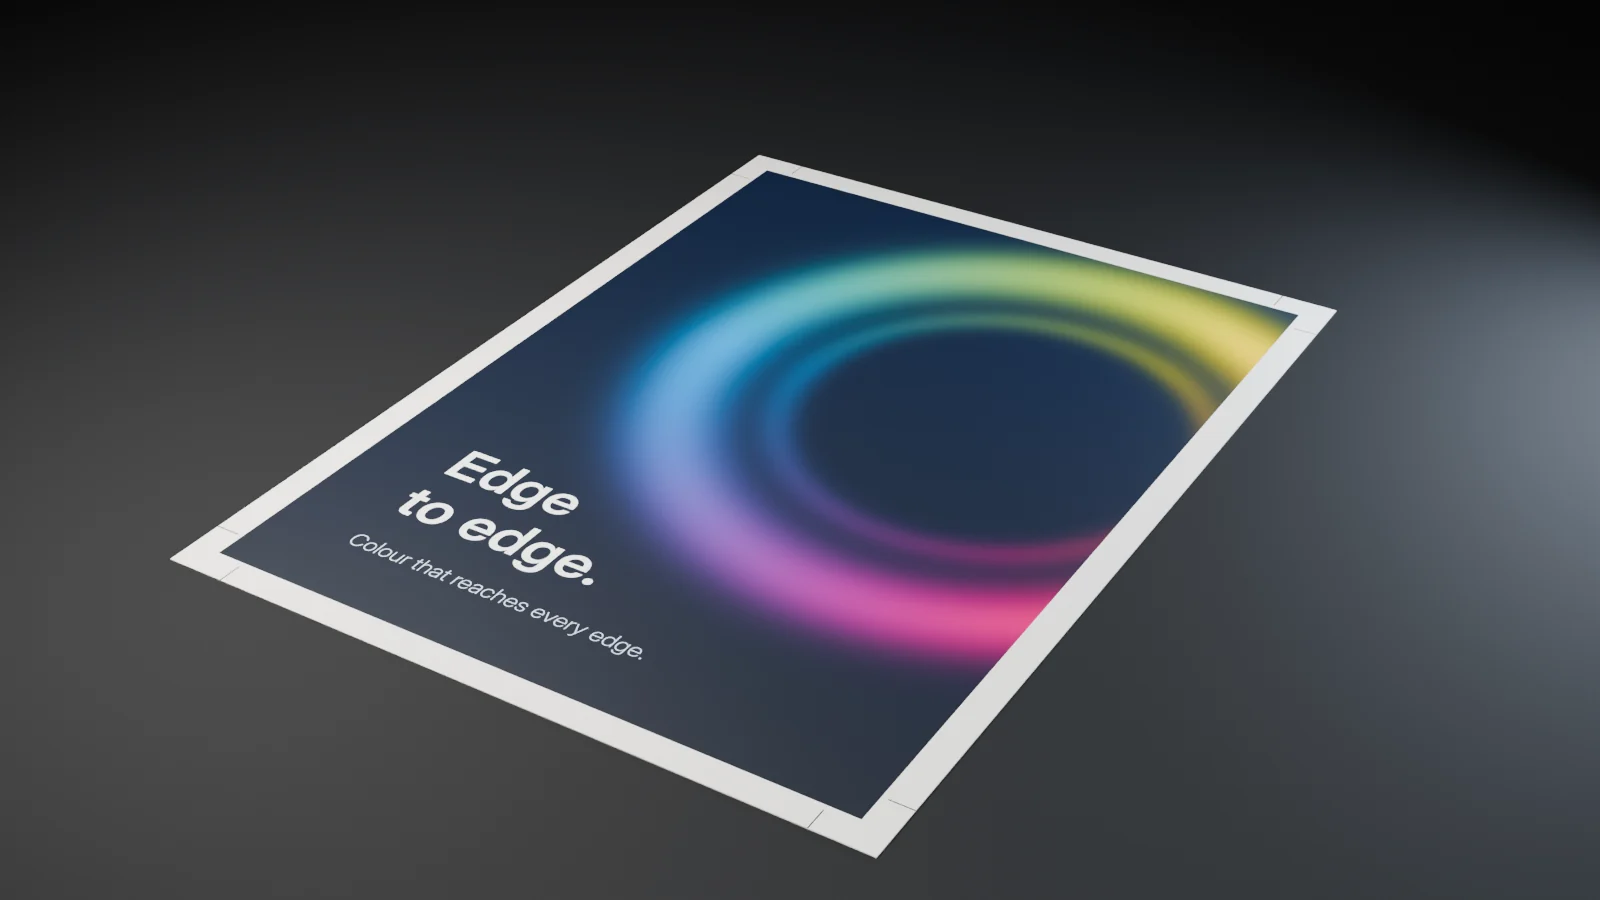
The same piece, the same trim. Once without bleed and once with 3 mm bleed. The difference is decided at the edge.
A few tenths of a millimetre make the difference.
The sheet is printed larger
Every piece is printed on a sheet larger than its finished size and trimmed after printing. The crop marks show exactly where.
Every trim has a tolerance
Trimming is accurate to a fraction of a millimetre. That small, normal tolerance exists in every trim, at every printer.
Without bleed
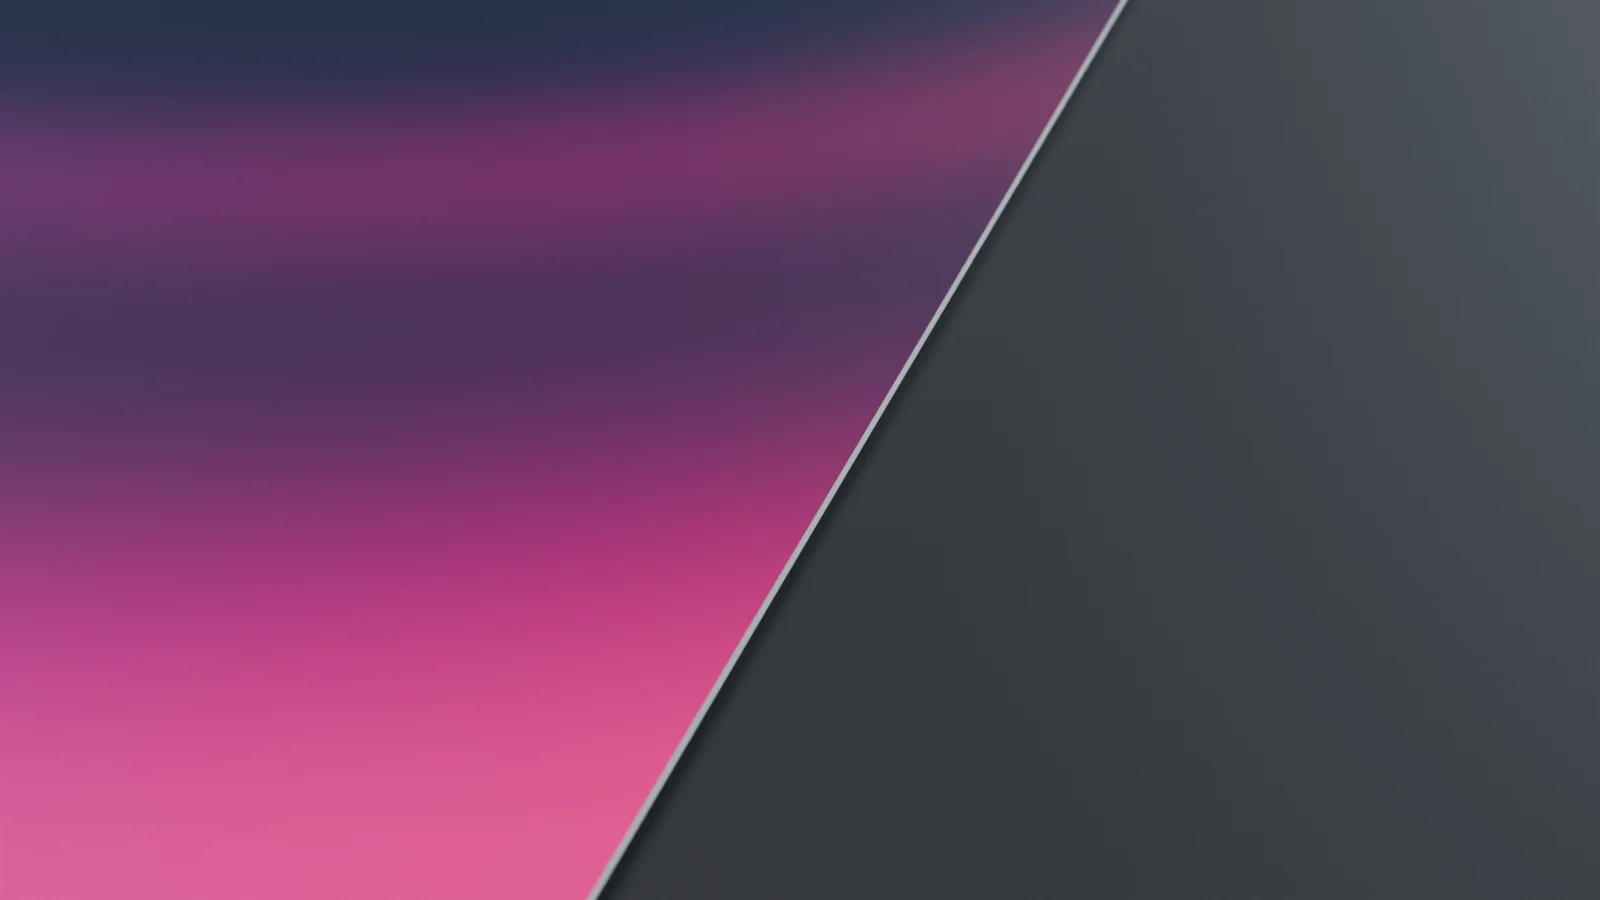
When the colour stops exactly on the trim line, the slightest deviation leaves a white line along the edge.
With 3 mm bleed
When the colour continues 3 mm beyond the trim line, the same deviation falls within the colour. The edge stays clean.
The same edge, after trimming.

What your file needs
- 3 mm bleed. Backgrounds and images that run to the edge continue 3 mm beyond the trim line, on every side.
- Safety margin. Text and logos stay at least 4 mm inside the trim line.
- Correct export. The PDF is exported with bleed and crop marks.
Full guide: bleed and safety margins. Before you send, the free PDF check verifies bleed in a few seconds.
Less waste, from the start
A file that is right from the start needs no corrections and no reprint. Less paper, less energy, less waste: sustainability starts with file preparation.
Send us your job specification.
Dimensions, quantity, substrate and number of colours. We reply with a technical proposal and a quotation.